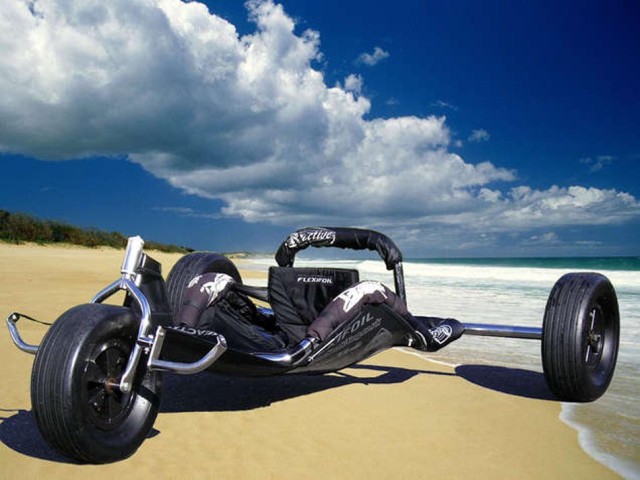
Pimp My Flexi Buggy
Jerry Hills fantastic Flexi Buggy.
-
- Pimped Flexi Buggy


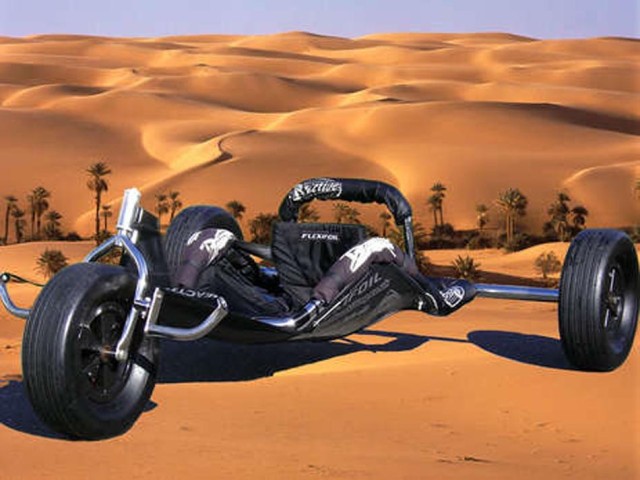
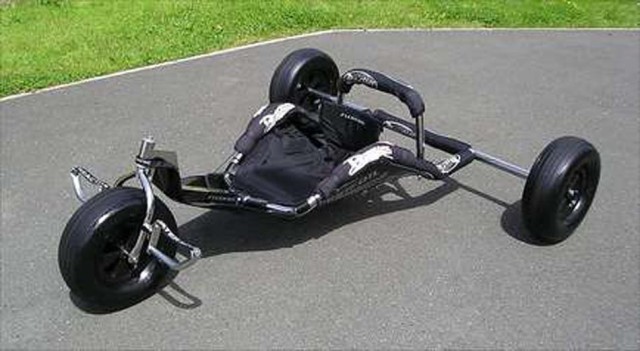
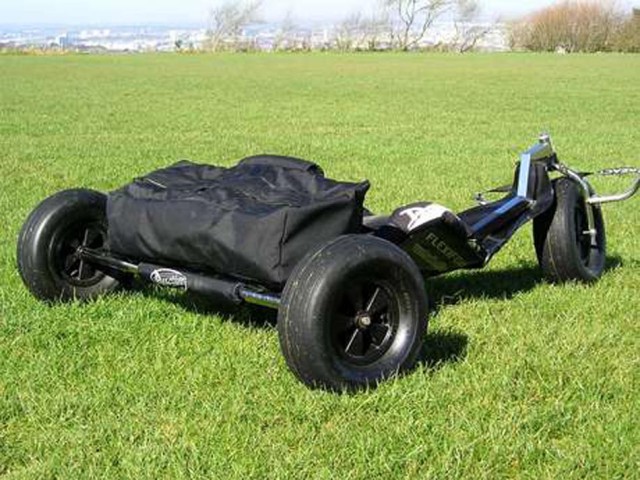

My first buggy was a standard Flexifoil 2002, and whilst I enjoy this bug to this day I felt I wanted something more able to take a bit of power without side sliding its way down the beach, and without having to fight to keep all three wheels on the ground.
Soon after buying the first bug a wide axle (WA) was ordered, fitting this made it quite clear that regular swapping of axles, to use the buggy for freestyle or cruising as I wished, was simply not practical. Changing the axles is a pain on the Flexi, and having shoe-horned the wide axle onto the bug I was not about to swap it back again, and so I bought another standard one to play with.
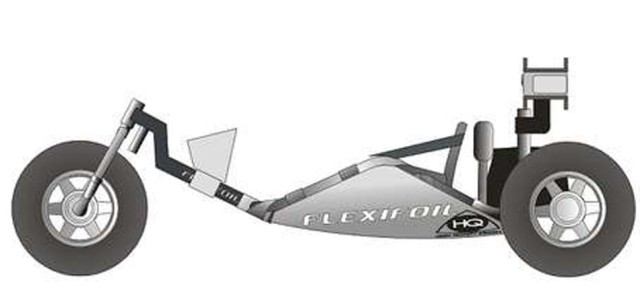
It was quite apparent as soon as I sat in the WA buggy that something was amiss, the seat height had grown considerably to point where I really did feel that I was sat on top of, rather than in, the bug. Once I received the new standard bug I was able to compare readily, and a search on the net for other peoples images of this conversion made it quite clear that this was permanent design failure, they are all like it. The reason is twofold, all related to a bend in the extensions to the side rail. Firstly the bend is a little short of the correct angle, the rear sections of these should perhaps have been horizontal, but they actually slope upwards to the front. Secondly the bend stops the original side rails from entering as deeply as the original axle. The cumulative effect of this is a rise of some 60mm above the standard buggy. In engineering terms it’s easy to see that this problem cannot really be overcome without a more complex, and therefore costly, arrangement. With this in mind I did not see it as being an issue for Flexifoil to sort out and I resigned myself to improving this myself. As the wide axle conversion does give useable advantages over the standard bug for cruising I started a series of modifications to sort the problem, which continues to this day.
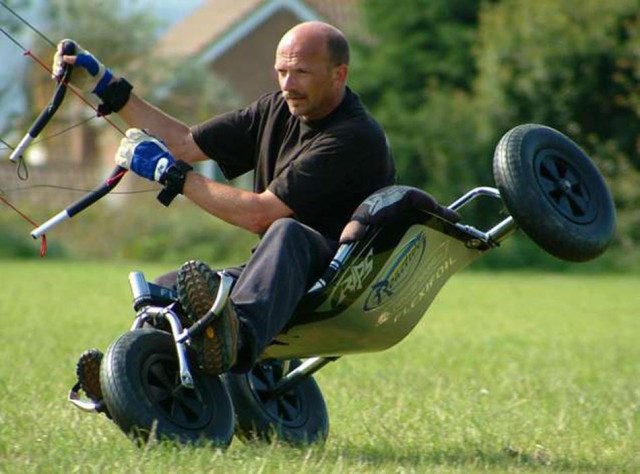
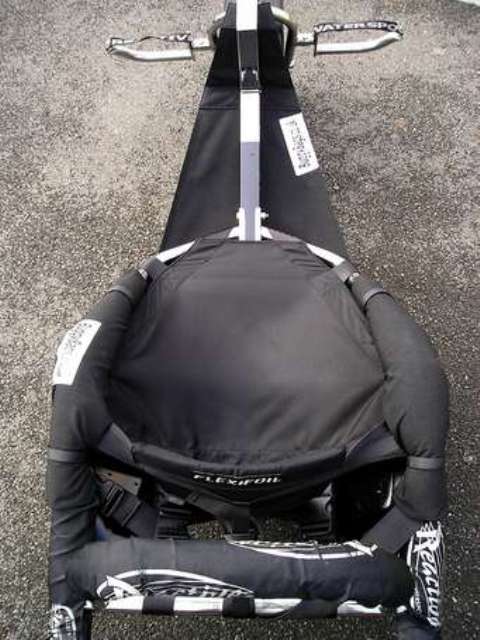
The standard Flexi bug has an ideal backrest for freestyle. It provides good lumbar support but is short enough and arranged so the pilot can lean back to clear lines during tricks. On a cruiser I felt like I wanted more, so I had a back rest bent up and welded it on to the cross member which runs between the side rail extensions on the WA. A simple roof rack pad was put on for comfort, something that’s about to change for the better. The rest of the bars on the axle were also covered in these pads and some others were used for the side rails following too many elbow knocks for my liking. A lot of people think the backrest is too far back when the position of the seat backrest is taken into account. In reality this is not the case as the seat backrest moves rearwards considerably with someone sat in the bug, this is not clear in photos of the bug without me sat in it.
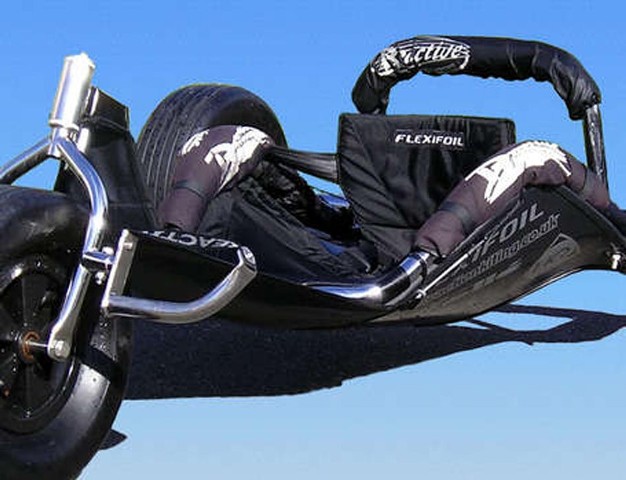
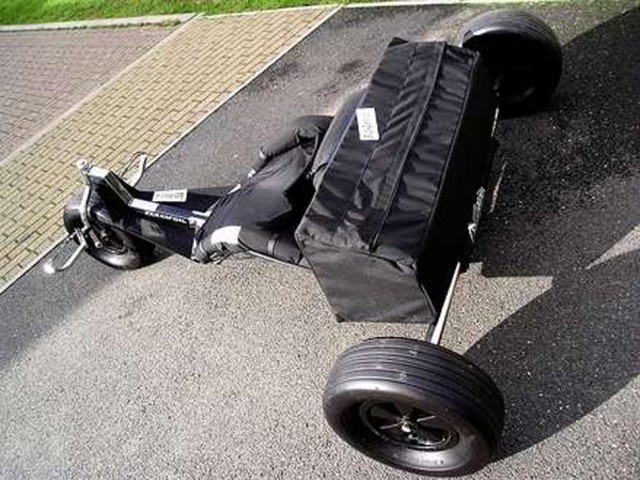
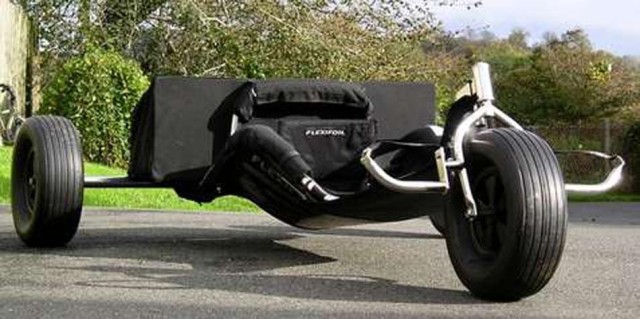
During this time a lot of development work was being done for HQ kites and I needed something better than the mass of bags tied to the rear of the buggy to carry them in. Flights on these kites are usually comparatively short and a lot of kite swapping goes on, so I made contact with Jon and Helen at buggybags.co.uk to see what could be done. As this bug had already stopped being standard Buggybags’ ability to custom make stuff came to the fore and a huge bag was made up for me. This allows me to carry up to six kites with all of the paraphernalia that surrounds them without all of the fuss that I used to put up with. A total solution. I improved the bag by inserting PVC liners to keep it in good shape. And to this day, when not being used for carrying kitey stuff on the buggy, it resides in my van on trips and has proven itself to be a really useful piece of kit. It’s well made and extremely strong, and in spite of being through all sorts of muck and mire none of the contents has ever suffered through getting wet of plastered in sand or occasionally mud!
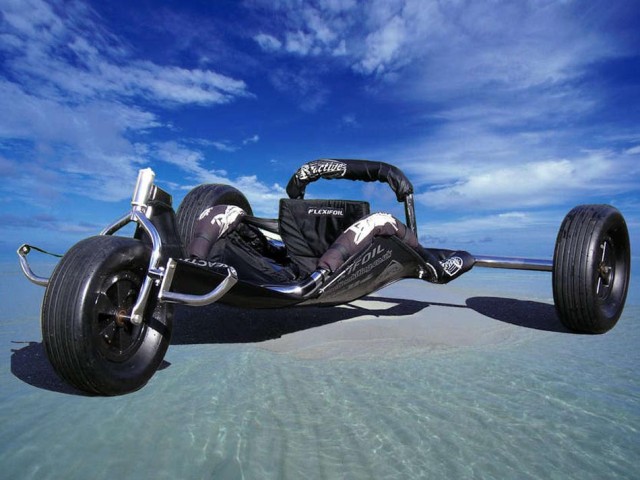
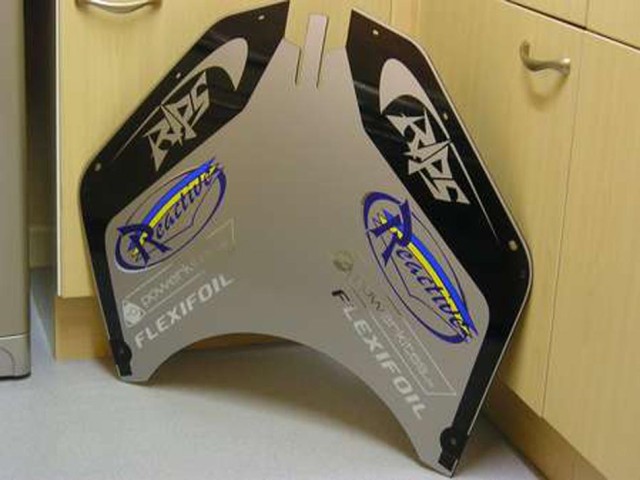
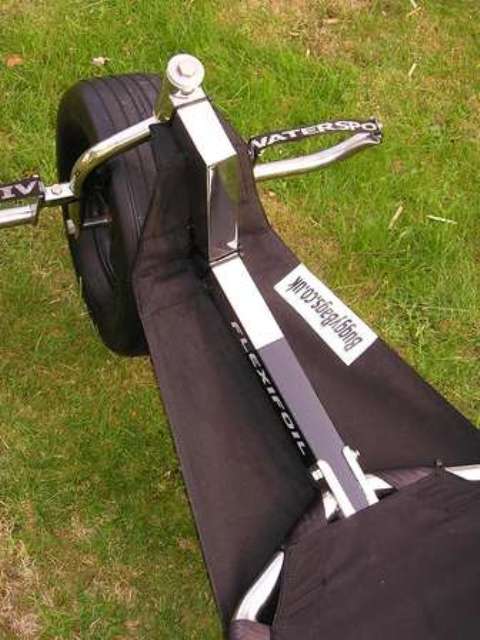
Tired of my butt getting wet, and close encounters with a few shells and driftwood, prompted me to investigate belly pans. Getting hold of one of these at the time was not easy so I sussed out the pattern and made one up. This was covered in a carbon fibre effect vinyl and edge trimmed to finish it off nicely. Whilst it would not withstand the same forces as a Rob Hills ‘RIPS’ one it has had very many knocks now and has proven itself to be perfectly adequate, especially after an encounter with a steel kite stake, left invisible by corrosion, which clattered into the pan at some speed. Perish the thought of what could have happened. It’s still on there now, but I have a mind to fit a polypropylene one and bring the graphics up to date. I have access to sign vinyl cutting equipment and can let myself loose on these things. Proper RIPS are very difficult to get graphics to stick to them, but I found a way which works well, so long as the design is sympathetic to this problem they are fine, as shown in the image of a sliver and black one which is now fitted to my other Flexi bug.
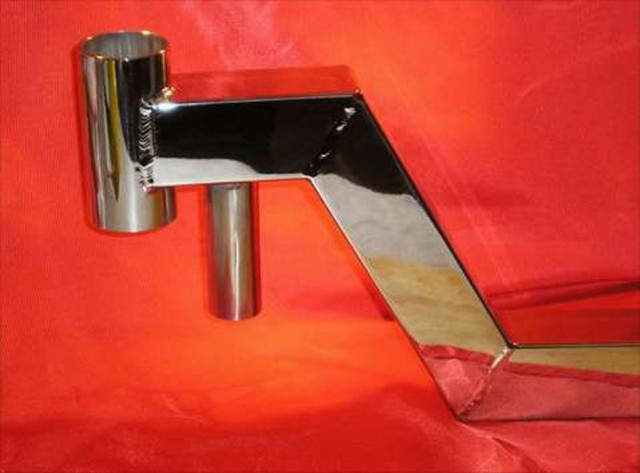
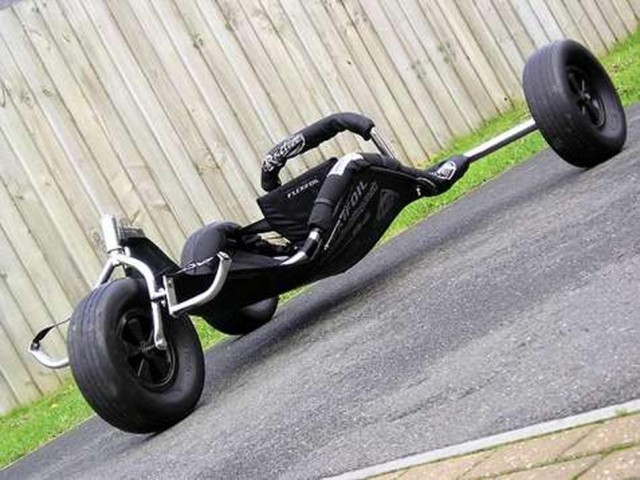
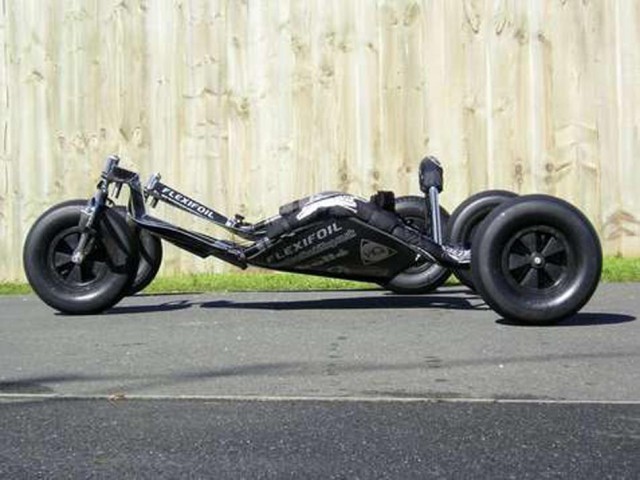
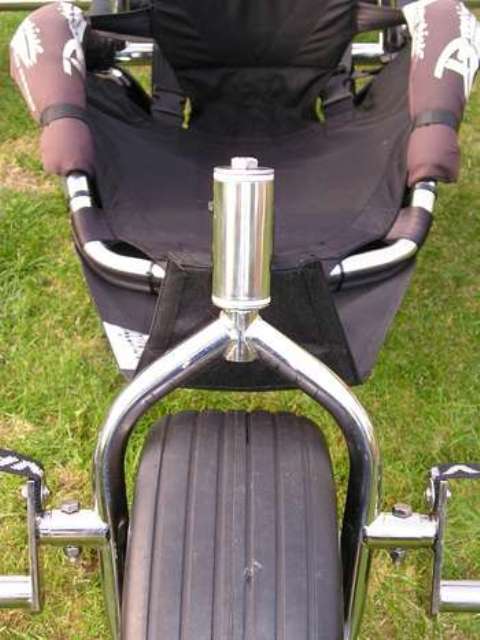
By now the bug was getting some serious use and I really needed to get the seat height sorted. Following some research on the net I managed to locate a couple of images of swan necks. There was some good stuff to be seen but a lot of images I saw didn’t really set me alight as the quality of finish was not as good as it could be, and they just didn’t look right, and so I set out to get this made myself. Before I started chopping bits of metal up I drew up some scale drawings to ensure all the angles were right and to establish what materials were needed. Simple sketches in Corel Draw allowed me to virtually move the components around to see what genuine effect it would have on the seat height. Once I’d derived the measurements I started looking around for material. Being a Turner by trade it was frustrating that I could not find the right tubing for the headstock, nor get to a lathe to make one, so I was relieved to note that the Flexifoil extended down tube available as an accessory was the perfect length to be cut up into a swan neck.
By simply making two angled cuts and reversing the centre piece the swan neck was produced. This was welded up and polished to a mirror finish. The only appearance problem this gave me was the unused adjustment holes which I chose to cover up with more of the carbon effect vinyl which was used on the belly pan. The proud welds were not as pretty as they could have been at this time. A couple of Flexifoil logos finished this off. In later times I sold the swan neck on and replaced it with another to the same dimensions where the welds were fully linished and polished to a smooth finish, much better.
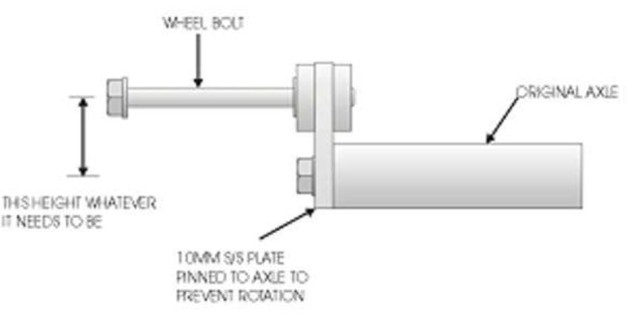
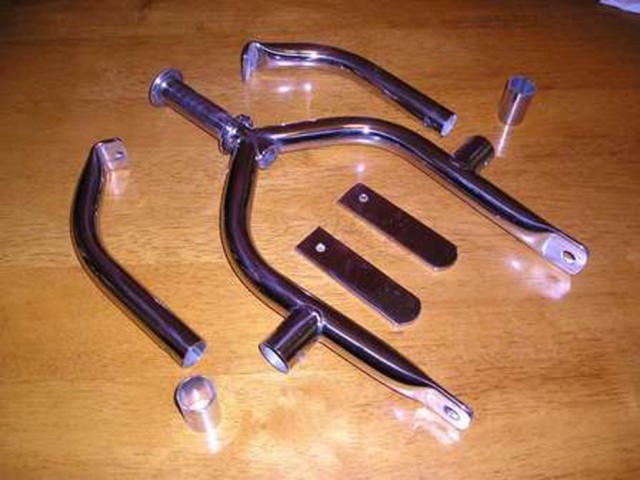
Fitting these swan necks gives two problems though. The standard splash guard will not fit any more and so a rush fix was put together before the bug had to be hoiked up to Tiree in the inner Hebrides. For this I made up what it basically an extension to the belly pan and I used a stainless steel flat bar to keep the splash guard tucked up under the downtube. This temporary fix remained on the bug for about a year as time and interest dictated that there was other things to do. Secondly the footrests now felt too high in relation to the seating position, so to drop my feet by the same amount as the seat I made up a means of using the original pegs in a way which did not need any changes to the forks. These parts consisted simply of flat plates and a length of tubing of the same diameter and wall thickness as the pegs. The original bolt holes on the pegs were welded, linished and polished out.
`
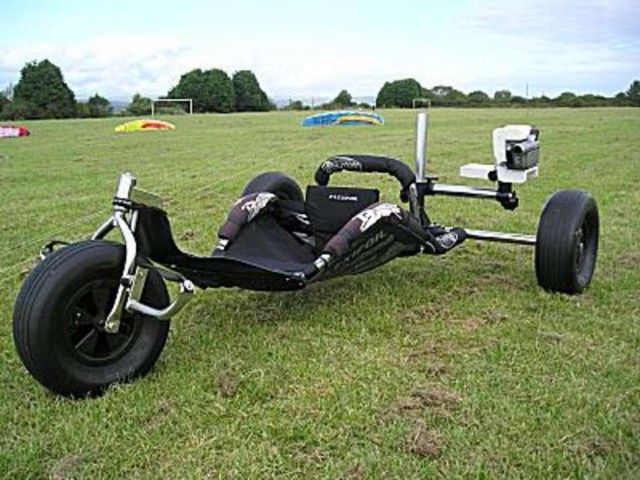
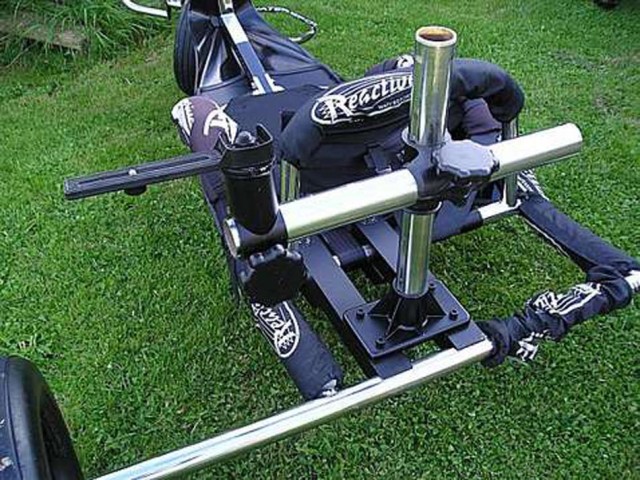
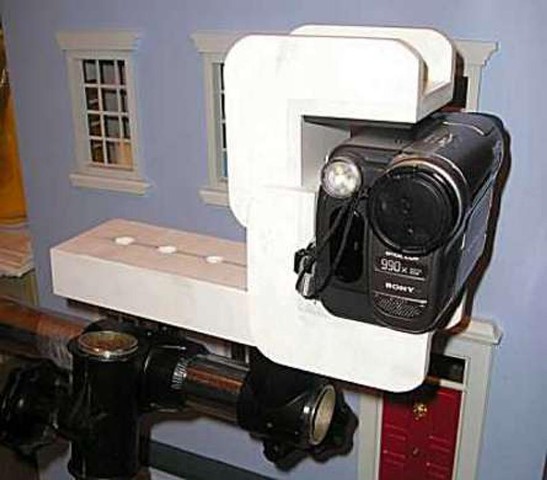
This interest came in the form of using the buggy to carry a video camera. I’d just got into using video after very many years as a still photographer and I was keen to find a solution to mounting a camera on the buggy without it vibrating too much. For some time I’d had a heavy duty adjustable bracket kicking around which, being a magpie for such things, I grabbed from a mate who was chucking it out. I’ve no idea to this day what it was originally for but it found an almost perfect use here. It has adjustable elements which allows me to place the camera in lots of different positions. The first one was a bit of a failure as the final element which attached to the camera, and the camera itself was not up to being held by the tripod mount alone, the result of these first shots can be seen here , not good! Again searching on the net I found an American site which held a discussion forum for all sorts of ways of mounting cameras. Fancy devices were discussed at length but the conclusion reached was that a rigid mount, rather than one with damped movement in it, was the best way to go, we just needed to hold the camera rather more seriously. To this aim I knocked up another one of those temporary things which hangs around for longer than intended. By gluing together 12mm PVC board I effectively made a clamp which held the camera tightly. The difference this made was remarkable, and although there is a need to tune the design a bit it works very well to this day. At this time I headed up to Westward Ho! To grab the end of the ‘Ex X-Zone’ event as it was called to try the camera out, the resulting first proper video off this mount can be seen here . I was fortunate enough to have a pic of me in the bug from this event in Powerkite magazine as ‘Noserider’ was there taking photos for the day.
This is work in progress as I’ve now improved the mount somewhat and other video techy stuff is in place to get better images.
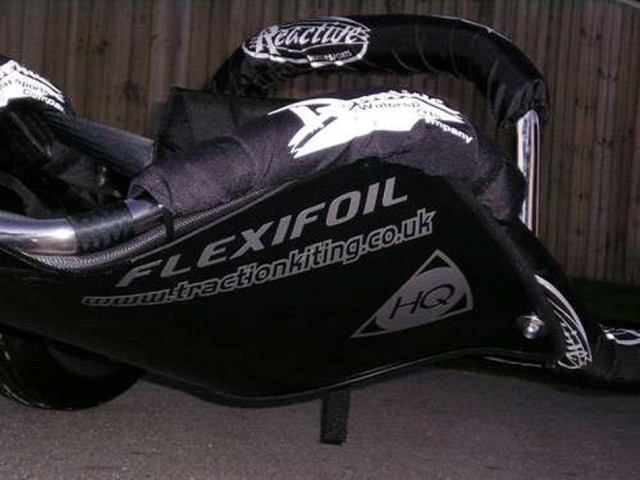
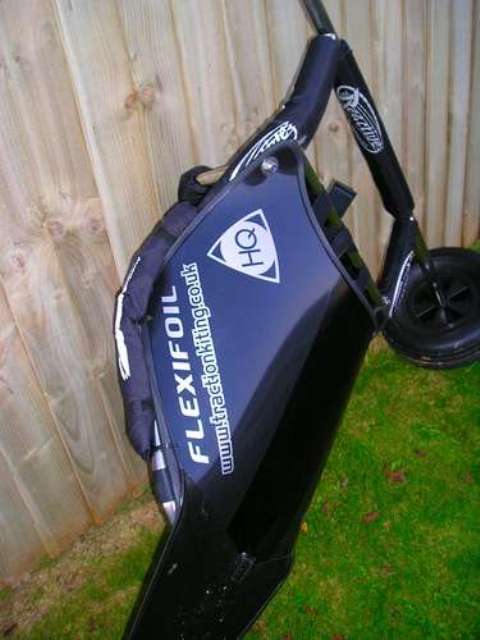
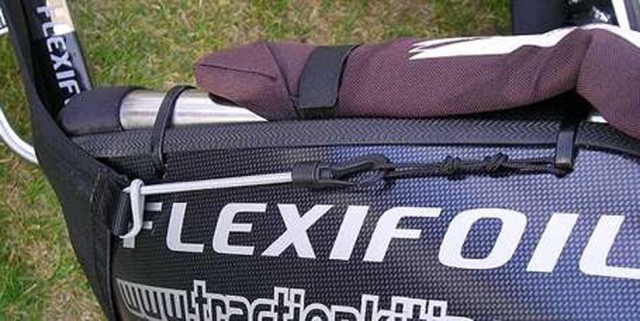
When the first swan neck was sold on the belly pan extension and original splashguard went with it. Now then I was driven to get a proper splashguard made, back to buggybags.co.uk. Significant dialogue was entered into as to how this could be done. I’d worked with Jon from buggybags on making a full length splash guard for my other buggy a reality, and some of what was learnt there carried over into an utterly superb guard to suit the down tube. This was soon followed by the replacement of the side rail padding, which needed something to match the excellent materials Jon uses.
To date this is pretty much where I am with the bug. Work in progress include a way of dropping the rear axle height to square the bug back up again, as the swan neck lowers the front of the seat more than the rear. Prototypes have been made in plastic coated mild steel and once these have been proven in anger I’ll be committing to stainless steel versions. In short the act of lowering the axle is achieved but I’ve yet to prove the theory over time. A bigger project is to replace the wheels with something rather more spectacular. There are two options available to me, both of which need access to that lathe again. Now that I have one this is doable, but until time allows me to get on with it other projects are taking precedence. One day I’ll have this bug finished, though maybe that’s not something that will ever happen as I continue to fiddle with it. Right now the video thing is being expanded upon as I fit a 7” LCD monitor to the down tube for viewing what the camera sees under way, along with another buggybags creation for securing recording equipment.
Jerry Hill
November 2006