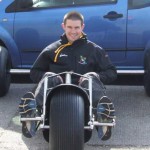
Not just a shiny buggy, this buggy is built to race and to last
I have admired Maarten’s desire to become a prominant player in the Kite Buggy scene for many years
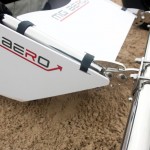
£££s per Buggy, these have to be the best value for money on the market. When you buy an AERO BUGGY, you buy the whole package, the frame, the seat, the wheels, 3D mudguard, and the race boards, the whole shebang…..on top of this, the buggies are highly polished to a mirror finish, I have no connection with these MG or receive any commissions, I am just bringing you the best value for money full size race buggy on the market.
The MG Aero has, like most buggies of nowadays, an adjustable back axle. With 4 positions it is now possible to choose your own setup.
Find your optimal height depending on whether you are riding bigfoots or ST wheels.
The buggy is available in two sizes:
44 cm or 46 cm space between the side rails.
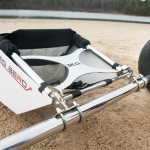
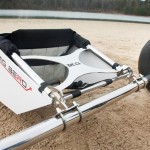
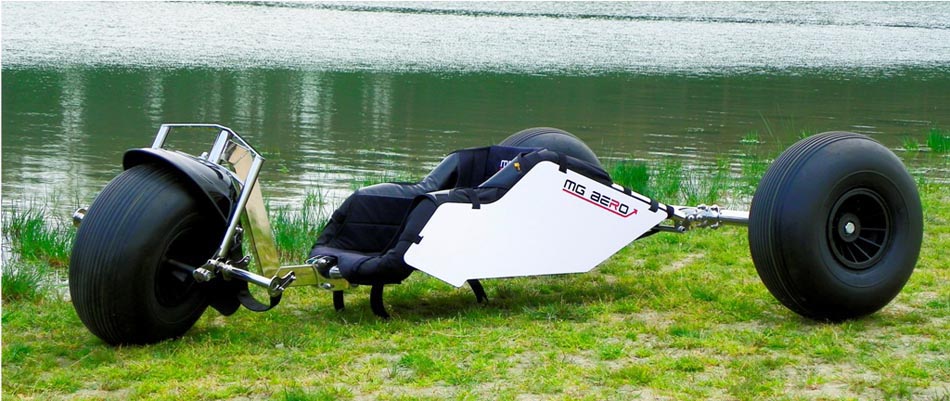
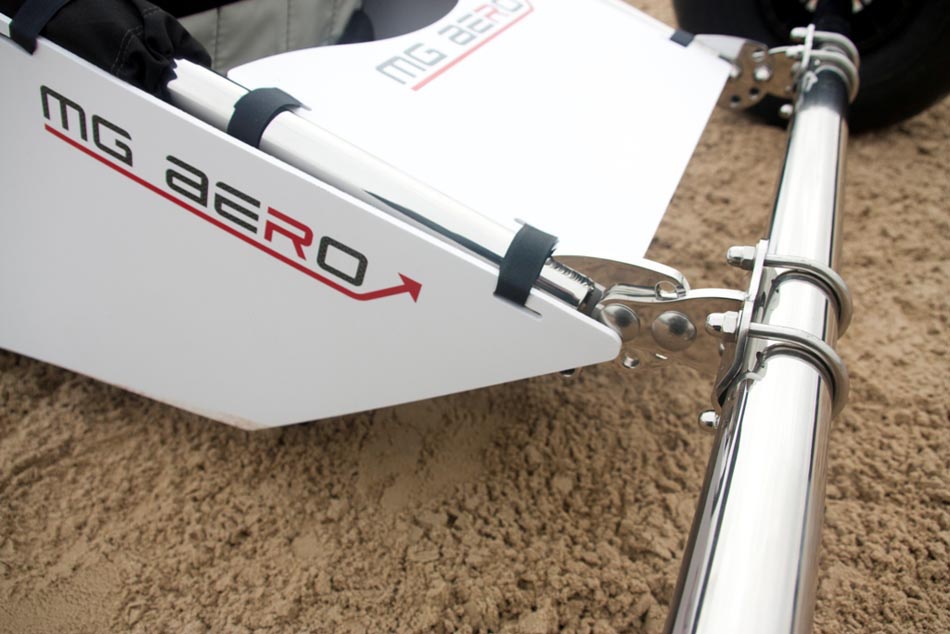
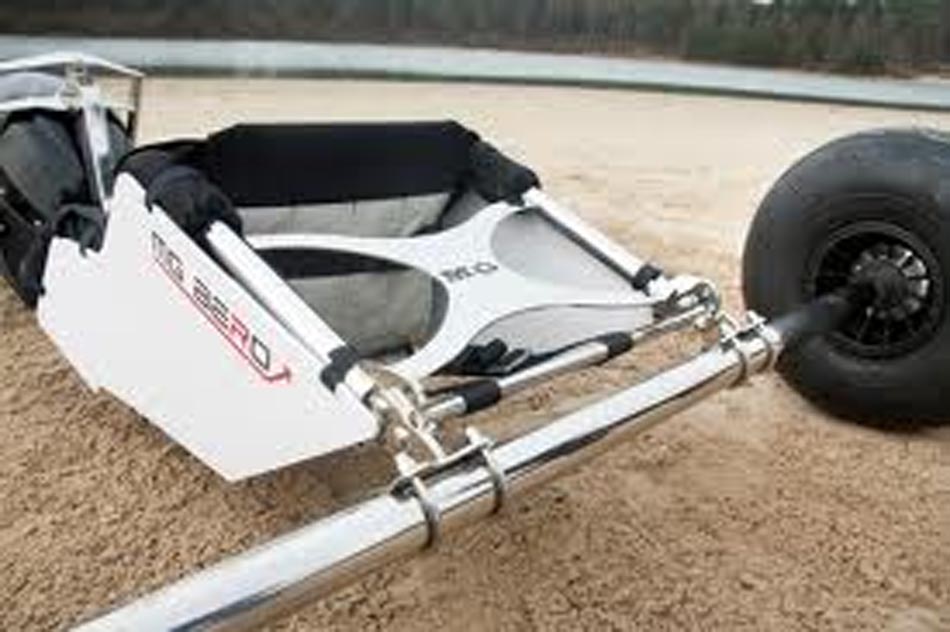
The nice and shiny cross at the back of the buggy adds extra strength to the frame. It is welded to the sidebars to form a unit which means there will be no bolts anymore
The largest part of the buggy is mounted with lock bolts; which had the advantage that you only need one key to spanner.
The mounting of the back axle is also completely new. There is no other buggy with a construction like this.
The main advantage of this construction is always having an exact straight axle.
Welding is not necessary so there is no problem with heating up the frame during the process.
The swan neck has a straight angle for fast control.
The swan neck’s angle is adjustable in 3 degrees steeper and 3 degrees less steep.
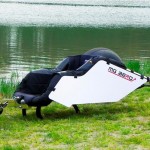
Each buggy has a black polyester 3D mudguard.
The wheel base of the buggy is variable ranging from 1665mm up to 1825mm.
Another advantage is that the axle is replaceable. Finally, the axle can also be used asymmetric.
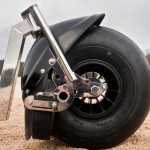
The fork contains 4 holes so you can choose your optimal footstep position.
There are standard holes for tandem buggy and pull bar.
The fork includes an extra hole for mounting balance weight.
The standard footsteps are the deluxe version with an adjustable foot brace.
The weight of this buggy with the full size Cadkat wheels is 46.5 kg.
The weight of the buggy can be reduced by using light wheels instead.
Model Small
Model Large
back axle [mm]
1520
1520
space between siderails [mm]
440
460
smallest space between siderails [mm]
365
385
height adjustment back axle [mm]
140
140
wheelbase min / max [mm]
1690 – 1880
1690 – 1880
weight complete (with fullsize wheels) [kg]
46,5
46,5
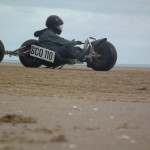
If you are wondering just how strong these buggies are,
MG Aero Buggy
MG Aero Buggy Rear
MG Aero Buggy Rear
MG Aero Buggy Front
—————————————————————————————
Testimonial from Owain Williams
Hi Carl,
Background
I haven’t been buggy racing for quite a while, probably been out of the Scottish racing scene for about 2 years due to one thing or another but earlier this year I thought I would head up to a meeting at St Andrews for a couple of races, just to see if I still remember how to fly a kite let alone race!
To my surprise I managed pretty well considering I was using someone elses race buggy which I hadn’t had any time to adjust. I left the race feeling pretty good and seriously considering whether to get back in to buggy racing again.
If I was to get back to racing, I would need to buy a new race buggy as I only had my Flexifoil standard buggy. With no rush I started searching the web and trying out different buggies on the beach. This led me to the PTW Cougar II which one of the local fliers owns. A very nice buggy and very comfy to ride. Driving home that night I thought I would drop Carl an email to find out how much a Cougar would be, the conversation then moved on to the MG Aero which Carl was now UK Distributor for. With no real rush to get the buggy as the Scottish racing series doesn’t start until October I thought about it for a while, looking at all the photos on the MG website and taking measurements to make sure the buggy would fit in my Citreon C2!
Then out of the blue I was asked by the Scottish Power Kite Association (SPKA) if I would like to join the Scottish team at the European Kite Buggy Championships in Hoylake, with only a month to go before the Champs I now really needed a buggy and quickly.
Ordering and delivery of the Aero
I dropped Carl an email and before I new it I had just ordered a brand new stainless steel MG Aero. Funds were transferred and the cogs were put in to motion.
The process was simple, pay the money via bank transfer and the buggy would be delivered to my door from the Netherlands
For the money you get a very shiny MG Aero with full bigfoots, a very good front splash guard, a very well made seat, shaped race plates with your race number already printed on them, grooves cut in to your bigfoots and as I said, all this delivered to your door.
With only 2 weeks to go before the Euros I was now getting nervous about whether I would have a buggy to race in, my accommodation was booked but this was no good if I didn’t have a buggy!
With 3 days to go, Carl and Maarten, pulled out all the stops and got the buggy to me in time. I missed the delivery so had to go to my local depot to collect it. I was a bit nervous about this as I still wasn’t 100% sure it would fit in the car, it didn’t help when the worker at the depot said “I hope you have a van” when he brought through the first of 2 parcels.
The next 30mins consisted of me and a pair of scissors carefully unpacking the buggy in the depot car park in the hope that it would all fit in. The seat is one solid unit with a shiny ‘X’ welded across the rear to keep the side rails solid. It looks amazing – the ‘X’ also doubles up as a race-plate holder when I have to put my rear number on.
To my relief I got the buggy in to the C2 and had space to spare! Handy considering I still had to fit my kites, tent, clothes and girlfriend in to the car for the Euros!
Drove home and then constructed the buggy in the living room! First impressions, its shiny!
First build of the Aero
The buggy took a small amount of damage in transit from Netherlands, the splashguard had a couple of scratches on it but apart from that it all arrived safe and sound. The seat is already fitted to the buggy frame which was unexpected and saves a lot of time when first building the buggy. The tyres are not inflated but that is understandable as its easier to ship them deflated.
Everything is wrapped in bubble wrap so I was a bit confused how the splash guard got scratched – the box that it was in had seen better days so I wouldn’t be surprised if the courier had dropped it or something!
Building the buggy is simple and all the nuts and bolts have been greased which makes things even easier. There are so many different options on how to setup the buggy that I will need to spend a bit of time tinkering with it. I can change the foot peg positions, I can change the ride height of the buggy and also the length of the down tube – which reminds me, a very nice touch has been made to the down tube. The section which has been cut has then been covered and welded closed so no debris can get in to the down tube! A nice touch because it means I’m not going to have loads of sand in the car when backing it away after a day on the beach. – anyway back to the buggy, did I mention it was shiny?
With the buggy fully constructed in my living room I had to sit in it and boy, the seat is comfy! I went for the smallest frame MG offer and it fits perfectly. Nice height in the side rails and a very comfy sitting position. I will be interested to feel it all under load when out racing!
Now that I had sat in it, it was time to dismantle it again and then pack it in the car for the trip down to Hoylake but first I had to visit my local Kwik-Fit to get my tyres inflated, 2 mins later I had all 3 bigfoots inflated for free! Ideal!
Hoylake
The day of registration and I spent the morning building the Aero and borrowing tools from my team mates as I hadn’t had a chance to find out what I needed. 30mm socket for the wheels, 30mm adjustable spanner covers everything else! The nice thing about many of the bolts is that they have been given square ends which fit in to square holes in the buggy, this means that for most of the buggy you only need one spanner and/or the 30mm socket! No need for a full toolbox just to build the buggy.
Axle was bolted on and set to a medium ride height. Because of the way the axle has been designed I can lower or heighten the seat by simply unbolting to bolts and adjusting. This was to be the setting I left the buggy on for the week, not to high but not so low that I hit my bum on any sand humps around the course. Wheels were attached and tightened up, mudguard attached with a number of bolts which make it very solid! I was very impressed by the number of attachment points the mudguard has been given, it really is one of the best mudguards I have seen on a buggy. Molded to fit perfectly between the forks and the top of the wheel.
The foot pegs however are the only weak point I have found on the buggy at this stage. It would have been good to have a similar ride angle adjustment available for the pegs as the rear axle. The issue I have is to try and get the heel straps sitting at the same angle as each other is quite difficult because as you tighten the peg with the bolt, it tends to rotate slightly. Not a huge issue but I know I will need to spend a bit more time making adjustments to this.
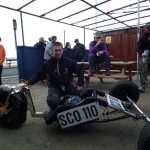
Once assembled it wasn’t long until I had quite a few people standing around the buggy saying how nice and shiny it looked and that the buggy looked good. They did laugh when I said I hadn’t ridden in it yet and that I hoped to get a practice run in it first before the first race!
The buggy weighed in at 46.6Kg in Scrutineering which many thought was a bit light for a race buggy but only time would tell.
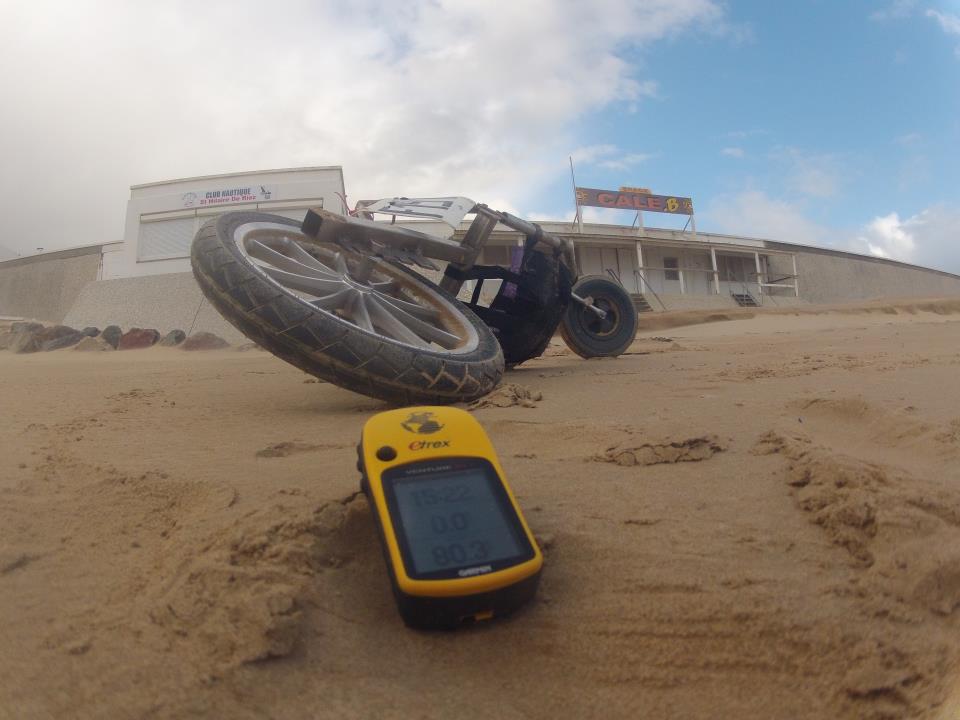
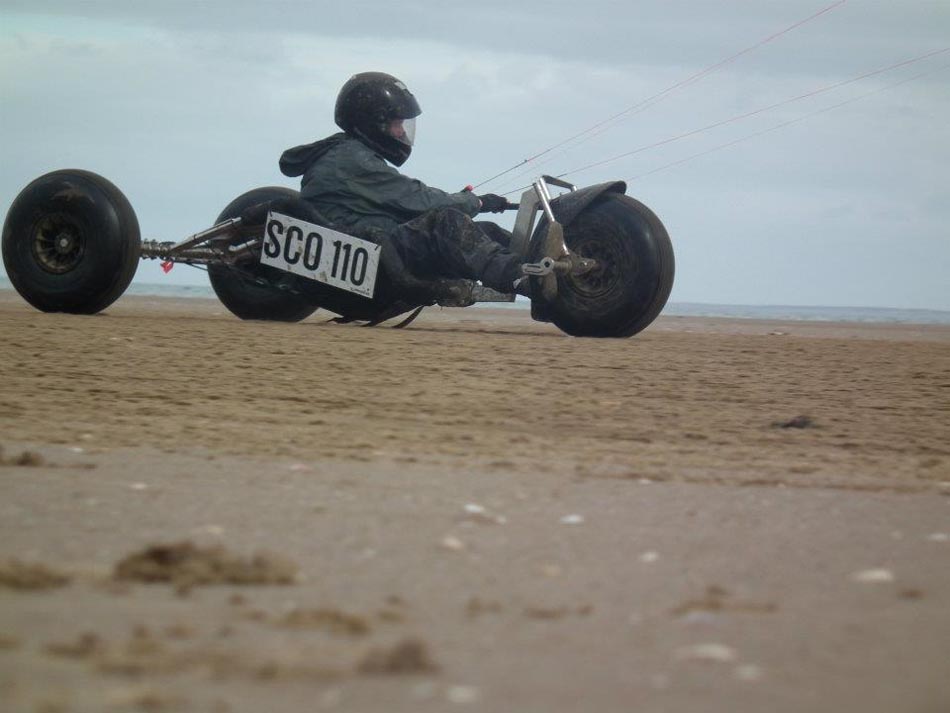
It’s dirty!
I had hoped that after scrutineering the beach would be open for us all to have a practice on but it wasn’t to be. The first time I would buggy in the Aero would be the first race the following day!
To get to the pits and race course at Hoylake we had to pull our buggies through some thick mud out to the sandbar, it was official, the buggy was now dirty – it was also at this point that I started to wish I had paid the extra money and bought the tow bar with the buggy, but for an extra £60, it was something I could live without and just used some rope tied around the foot pegs!
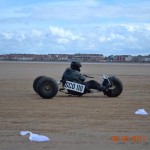
First Outing
The first time out in the buggy put a smile on my face but was also a very special moment for me. I had bought the buggy with money left to me by my late father, so while out blasting up and down Hoylake sandbar I gave a wee nod in my helmet to my Dad and then continued to enjoy the new buggy – grinning from ear to ear.
There were a couple of adjustments I needed to do, firstly was the foot pegs as they had started to rotate slightly so I tightened them up and also made a small adjustment to the length of the down tube but apart from that I was ready to race.
During the week I started to realize how much more power I could hold down in this buggy, it feels very solid but at the same time, due to the weight I can throw it around marks very easily, it also gets up to speed nice an quickly as well. The shape of the side rails is idle for me as well, I can hug in to them but not get bruised ribs and if I feel that I am possibly going to get pulled out of the buggy when turning I can widen my legs and it holds me in just enough not to pop out the top like a champagne cork!
Overall On the final day I went out really powered up and started to get a real feel to the buggy, this was only the 5th race and really, only the 5th time I had been out in the buggy since there was very little “free” time given to just explore the beach. When full powered up I did feel the buggy could do with some extra weight attached to it, it lost grip quite easily but I was very powered up with the 7.5 PKD Century and I couldn’t help but feel that if it was maybe 50kg – 55kg it might hold a straight line for longer before going sideways. There are attachment points available on the buggy to attach more weight and I may look in to doing this but first I am going to extend the down tube out a bit to give it a bit more length. This may sort the problem.
I do need more time in this buggy and I’m already looking forward to getting back in to racing in Scotland and who knows, maybe venture down to England for a couple of races. I’m really interested in doing the 24hour Enduro in the Aero, it really is that comfy. It’s so comfy that I actually fell asleep in it while waiting for the rain to go and for the pits to dry out between races one day!
With more time to experiment with a couple of different setting in the buggy I think this is going to be a great year for me in the Aero and best of all, after 5 races and being dragged through the mud twice every day, I washed it down to get it back in the car and its shiny again! 🙂
Thanks to Carl and MG for getting the buggy to me in time for the Euros! I am a very happy customer and considering I bought blind having never sat in an MG Aero, the customer service was brilliant and I may still buy a tow bar at a later stage!